Nearly half of all residential fires begin in the kitchen, and they can spark in an instant. One moment there’s a delicious meal cooking on the stove, then, suddenly, smoke and flames. Kitchen fires can spread in seconds, with smoke filling the room, making it hard to breathe and impossible to see. This risk is especially dangerous in multifamily properties, because a kitchen fire in one unit may cause fires in adjacent units and continue to spread through the building.
The good news is that kitchen fires can be prevented. In fact, by following a few simple steps, multifamily maintenance teams can reduce the risk of kitchen fires and stop them quickly if they do happen—without even being in the unit!
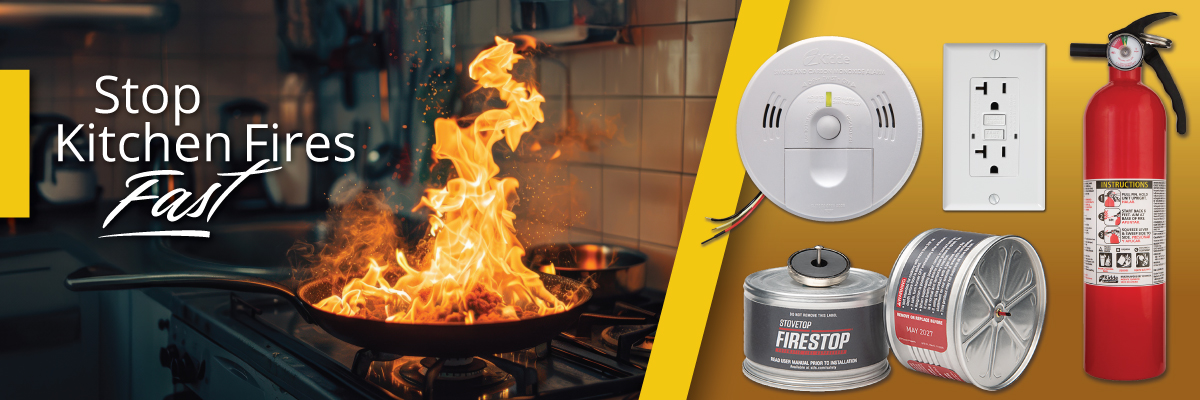
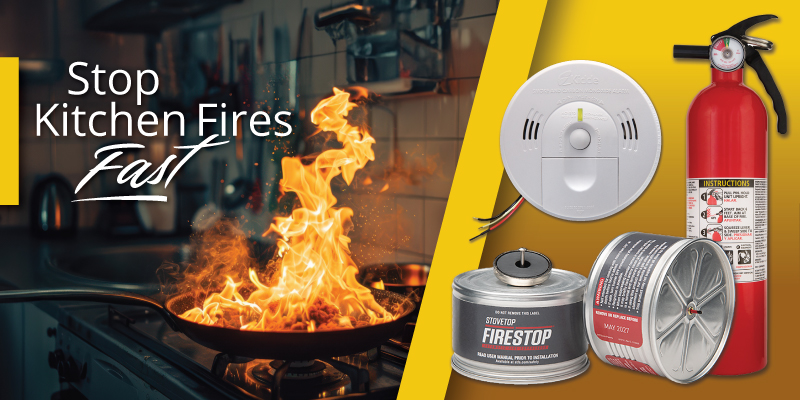
This proven fire-stopping product delivers simple, effective, long-lasting protection, helping multifamily operators save lives, save money, and save properties.

#153036
- Automatic fire suppression
- Active response to open flames stops stove fires fast
- Easy install—Attaches magnetically to rangehood
- No maintenance or testing needed
- Excellent protection for a typical 4-burner stove
- May qualify for an insurance discount
Simple. Effective. Fire suppression. Watch StoveTop FireStop in action.
STEP 2: Provide Important Kitchen Fire Safety Equipment

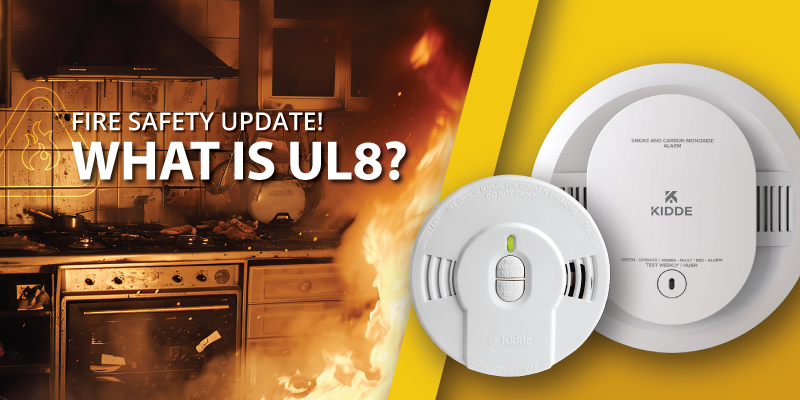
Smoke alarms should be “beep” tested monthly. Replace after 10 years or earlier if not operating properly.
View Options.

Extinguishers should be in placed in every unit. Make sure they are easily accessible and working properly.
View Options.
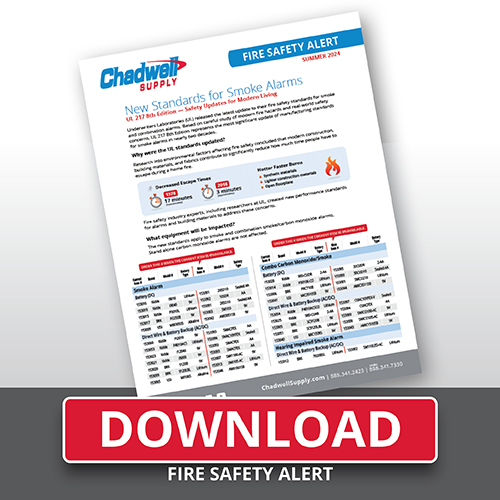
All fire safety equipment comes with an expiration date. Check out this easy-to-follow guide to know when and how to replace fire safety equipment in units and common areas.
STEP 3: Clean or Replace Range Hood Filters
Grease buildup is a serious fire hazard. Protect residents and properties by making sure range hood filters are clean and safe.

Clean aluminum filters with a safe, effective cleaner degreaser such as Power-O (#352010).
View Options

Charcoal filters cannot be adequately cleaned. Replace every 90-120 days.
View Options
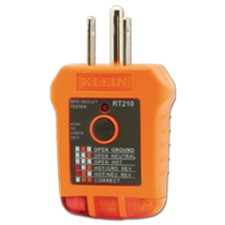
STEP 4: Test GFCI Outlets

