Paint Jobs Done Fast!
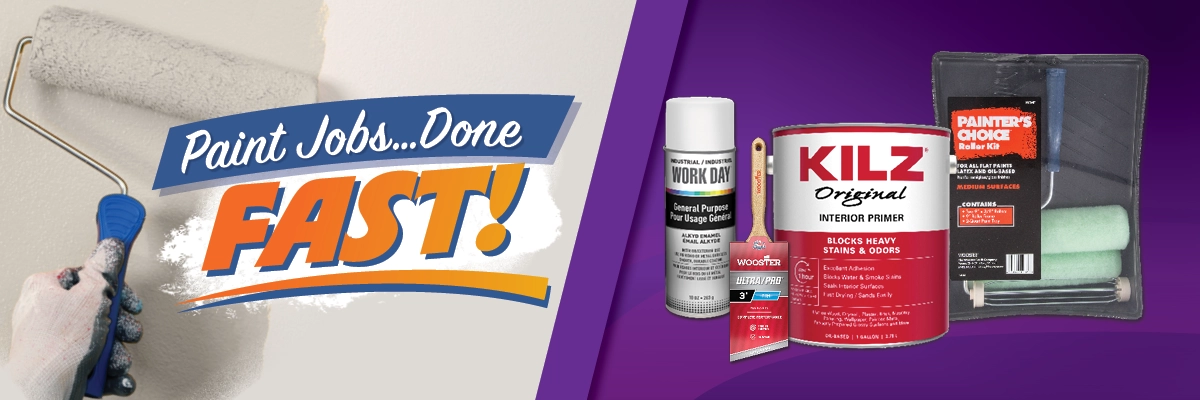
With the right tools and some professional know-how, every painting job can be finished faster with less mess. Check out these practical painting tips to get that next paint job done right and finished fast.
Whether you are painting for a renovation, touching up for a turn, or finishing out some trim to freshen up a unit, painting does not have to be a chore. With the right tools and a few pro tips, every paint job can be simpler, faster, and easier.
Painting Prep
Properly preparing a surface for painting takes effort, but it’s time well spent. Fill holes, patch and sand flush, caulk gaps, and match texture as much as possible. Those steps will make painting easier and deliver a better finished look every time. Here are a few more painting prep tips:
- Remove Hardware—Tape or remove doorknob and stops. Remove electrical plates and either leave the screws in the plate or tape them to the back of the plate. Keep hardware in one bucket or box and covers in another. That way everything is easy to find when painting is done.
- Protect Flat Surfaces—Tape off the bottom of baseboards and put down drop cloths, not just where you will paint, but also where you will walk. And, if you are painting a ceiling, be sure to cover cabinets and countertops to avoid splatter or overspray.
- Careful with Caulk—Only use what you need. Applying too thick of a line results in more mess and wasted material. Cut the tip of the tube to match the width of the narrowest point of the gap.
Clear a Path—Keep paint cans, pans, or buckets on a drop cloth, away from doorways and out of your way. Establish a clear path so you can walk without worrying about tripping on the bucket.
Primer on Primer
While all primers can do the job, matching the right primer with the right material will get the job done better, faster, and easier. Here is a quick list to match the primer to the job.
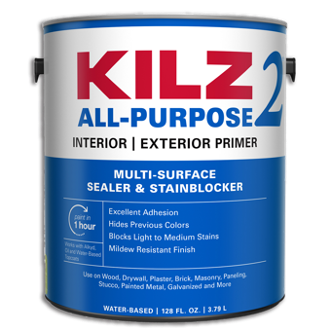
Water Based Latex Primer
- Walls and Ceilings
- Painted Trim (if water based)
- Masonry
- Nonferrous Metals
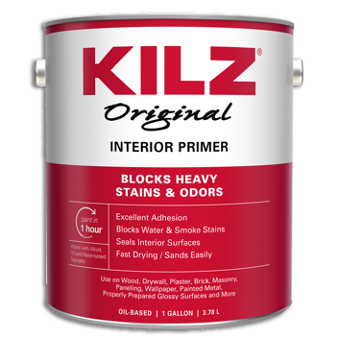
Oil Based Primer
- Unpainted Wood Trim
- Painted Trim (if oil based)
- MDF
- Ferrous Metals (prevents rust)
Some paints, including oil based and shellac primers off-gas VOCs. Stay safe by working in a ventilated space and wearing proper PPE.
Painting Tools

- Paint brush—Use an angled brush for cutting in and corners; for other applications, a flat brush works fine.
- Roller cover—Match the nap to the surface, the rougher the surface, the thicker the nap.
- Roller and pole—Rollers should be clean, strong, and free-spinning; choose an extension to fit the space.
- 6-in-1 painters’ tool—A true multiuse tool. Use it to open cans, scrape old paint or caulk, clean rollers.
- Painter’s tape—There are a lot of strong opinions about whether to use or not use painter’s tape; bottom line, though, sometimes you need it.
- Caulk gun—Choose one that comes with a built-in tip cutter and a pin to puncture seals.
- Wall Patch—Cover drywall damage easily and paint immediately.
BONUS IDEA! Are residents moving in right away? Eliminate that “just painted” smell with Paint Scentsations! Transform that paint odor into a fresh, inviting scent.
 2" WOOSTER ULTRA PRO FIRM ANGLE PAINT BRUSH
 POLYESTER PAINT BRUSHES - 3/PK - 1" ANGLE, 1-1/2" ANGLE, 2" FLAT
 9"- 1/2" NAP PAINT ROLLER COVER -3/PK
 9" HEAVY DUTY PAINT ROLLER FRAME
 2' - 4' EXTENSION POLE
 6 IN 1 PAINTERS TOOL
 CAULK GUN FOR 28 OZ CAULK TUBES
 DAP 6" RAPID WALL REPAIR PATCH
Painting Plan
The order in which you paint the different surfaces in a space can save time and get that unit turned faster. Start at the top and work your way down for greater efficiency.
- Ceiling—You won’t always have to paint the ceiling, but, if you do, begin by covering anything that might get spattered with paint. Then, with an angled cut-in brush, paint a 2- to 3-inch band around the perimeter. Finish up with a roller on an extension pole. Use a good flat (matte) ceiling paint.
- Walls—Cut in the walls then finish the work with a roller.
- Doors—Roll with a smooth surface cover, finish or touch up with a brush; make sure the door is fully dry before closing, or the weatherstripping will stick.
- Trim—Now it’s time for the detail work. Carefully paint the trim, door frames, window casings, molding, and baseboards.
Do not paint over outlets and covers. The short time “saved” painting over that plate will cost touch up time later when painting is not on the service request sheet.
Painting Skill Tips
Learning to paint quickly and accurately is about more than just the tools. Technique takes practice, but it’s worth the time learn how to do it right.
Rolling a Wall—Consistency, not speed, is key to achieving smooth, even paint coverage. Dip the roller in the paint, make sure it is fully covered but not overly saturated. The cover should not be dripping. Roll in a “W” or “M” shape, using overlapping strokes until every gap is filled. Finish with a light pass near the corners to blend the cut-in brush strokes. For a second coat, allow the paint to completely dry, then repeat.
Using a Brush—The most important tip here is to use a comfortable grip, and to vary it a bit to avoid hand fatigue or pain. Load paint on the brush by dipping the bristles about an inch into the paint. Tap lightly on the side of the bucket to remove excess and reduce dripping.
Straight Edge Without Tape—Sometimes tape is not an option. In those cases, if you are not a practiced hand with the cut-in brush, using a putty knife (#456025) or drywall knife (#456071) as a guide can be a big help.
- Position the blade at an angle between the brush and the joint.
- Apply the paint, being careful to keep the brush and blade at steady angles.
- Be careful not to allow the paint to collect too much on the blade.
- Lift brush and straight edge away as the same time. Wipe the blade clean and repeat.
Prep well, use the right tools, and practice proper techniques—Do all three consistently, and painting can be quick and simple while delivering a fantastic finished product.