Toilet Troubleshooting Tips
Resolve toilet issues efficiently with our comprehensive repair guide. From diagnosing leaks to replacing valves, fix a constantly running toilet easily!
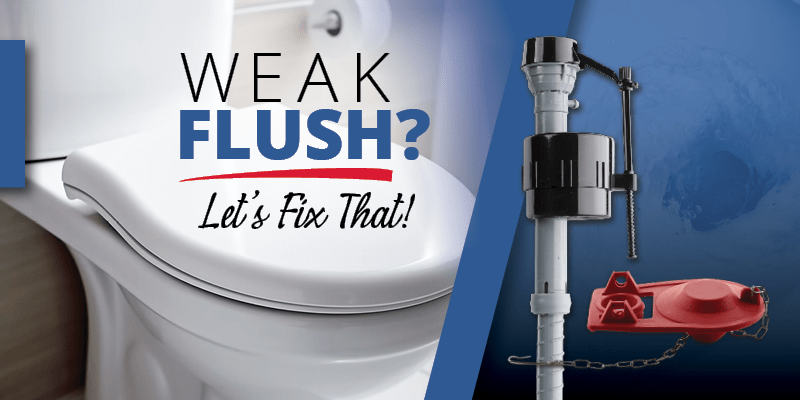
Toilet Running Constantly? Let’s Fix That!
There can be many signs that a toilet is in trouble. Strange hissing or thumping noises during a flush? Not enough flush to clear the bowl the first time? Not refilling properly or refilling too often? Water refilling all the time? Any of these issues indicate a plumbing problem. And, while there might be many ways for a toilet to fail, there is one certainty: Toilet trouble will not go away on its own. In fact, it will likely get worse. So, the right time to solve any toilet trouble is as soon as possible.
Three of the most common toilet trouble issues are:
- Constantly refilling
- Weak flush
- Noisy function
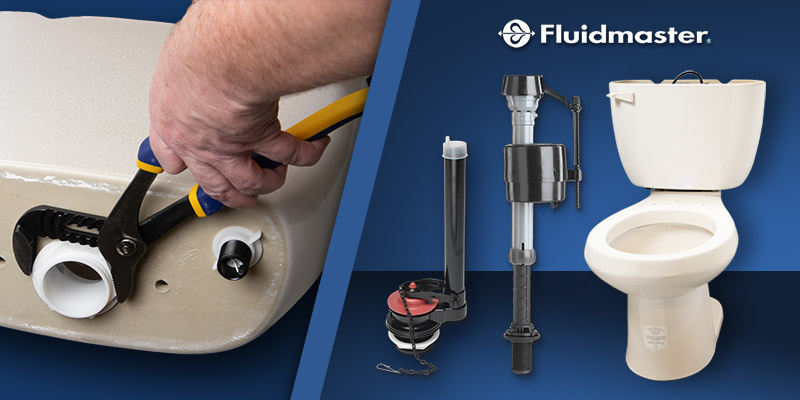
This article includes troubleshooting and step-by-step repair instructions to fix a toilet that runs or refills constantly. If the issue you are seeing is weak flush or noisy function, check out our Product Knowledge articles about troubleshooting and repairing those common toilet troubles. Thank you to our partners at Fluidmaster for their help with these Plumbing Pro Tips.

![]()
Diagnosing the Cause of a Constantly Filling Toilet
First, is there water leaking out of the toilet, under the tank, or onto the floor?
- Yes? Immediately turn OFF the water at the supply line.
- Check inside and around the toilet to determine where the leak is coming from.
- Examine the tank to make sure it is free of chips or cracks that may allow water to drip or seep out.
- Check to see if water is leaking through the holes where the bolts connect the tank to the bowl. The bolts and washers may need to be replaced.
- Check the height of the fill valve and flush valve. The fill valve cap should be about 3” above the top of the overflow pipe and no less than 1” above the top. If not, the fill valve may need to be adjusted or replaced (see below).
No water under the tank or on the floor?
If there are no clear structural issues with the tank and no leaks at the bolts, a constantly refilling toilet is generally a sign of an issue with one or more of the following components:
 Flush Valve
 But which one? Some targeted troubleshooting will answer that question.
CHECK THE FLAPPER
The most common cause of a running toilet—and the simplest to fix—is a leaky flapper. Here’s an easy way to check if the toilet flapper is working properly.
- Let the toilet tank fill. Turn off the water. Mark the water level inside the tank.
- Wait about 20 minutes and check the water level. Is it the same? Lower?
- If the water level is lower, the flapper may be leaking.
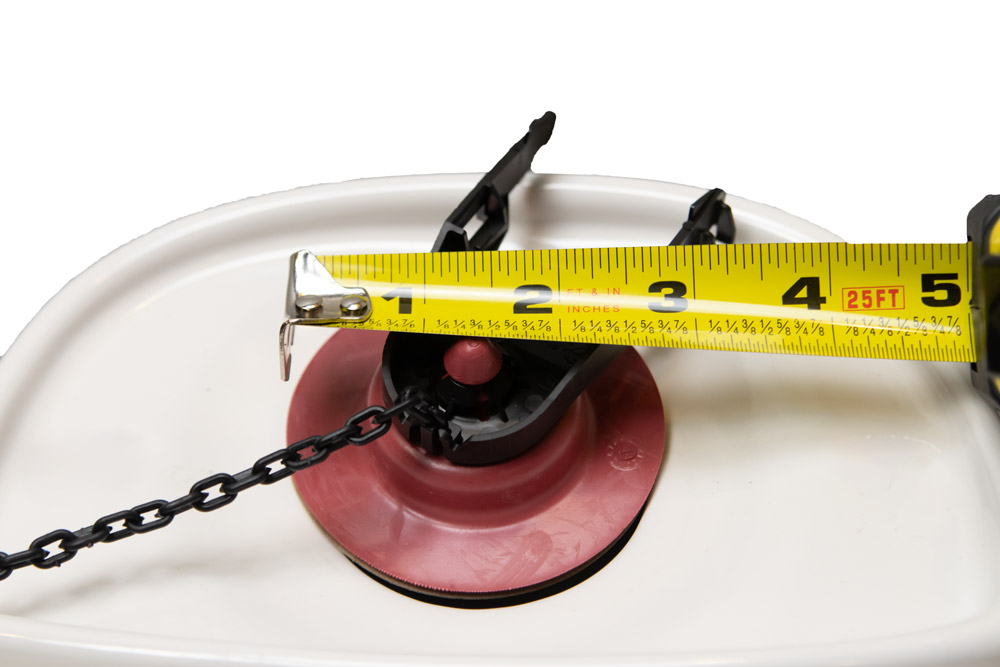
- Replace the flapper. Determine the size of the flapper by measuring the current flapper.
- If the width of the top of the flapper is 3 inches, select a 2-inch flapper.
- If the width of the top of the flapper is 4 inches, select a 3-inch flapper.
- Make sure the new flapper is clean, smooth, and free of anything that would prevent a tight seal.
- Install the flapper and turn the water back on. Wait to see if the water is still draining or not.
If the flapper is replaced properly and the toilet continues to drain, there’s another issue. Move on to Checking the Fill Valve.
CHECKING THE FILL VALVE
Shut off the water in the tank. Flush the toilet. Turn on the water and wait for the tank to fill. Is the water level going so high that it is draining into the overflow pipe?
- If YES, time to clean or replace the fill valve.
- If NO, move on to Replacing the Flush Valve
Dirt, debris, and buildup can get lodged inside the fill valve at any time, even after a new installation. When these obstructions cause the valve to stop functioning properly, the valve may not shut off the water, causing it to overfill into the overflow pipe.
CLEAN THE FILL VALVE
If the valve installed in the toilet is a Fluidmaster 400A, take the following steps to clean the valve. If it is another kind of valve, follow the manufacturer’s instructions for cleaning that fill valve.
Turning off the water, flush the toilet to drain the tank. Follow these steps carefully.
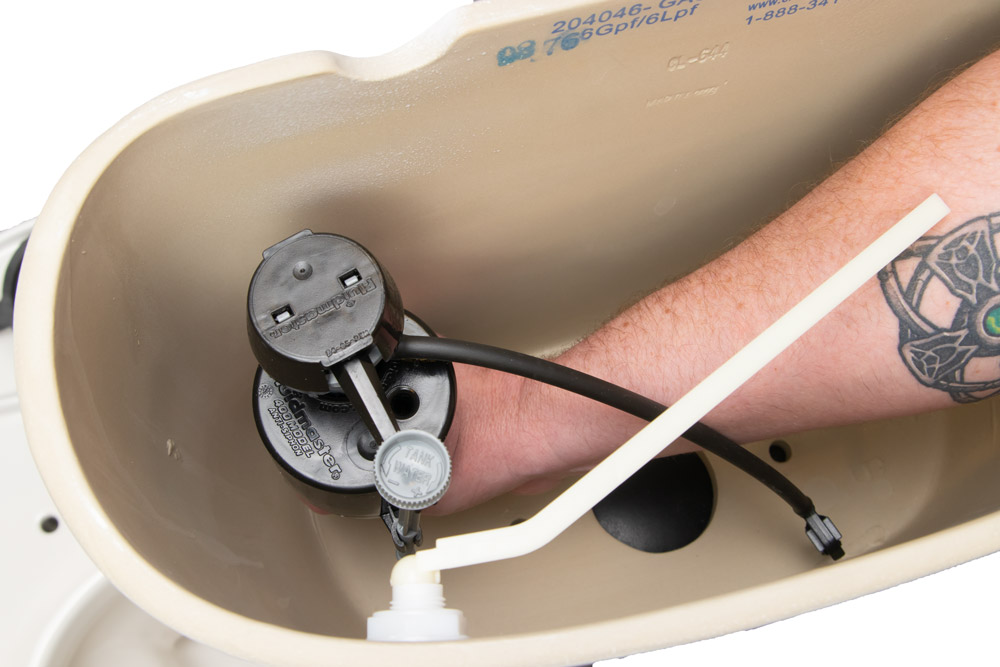
With your right hand grip the gray valve shaft of the fill valve.
Without releasing the fill valve shaft, grasp the cap and keep your thumb on the side of the plastic lever arm.
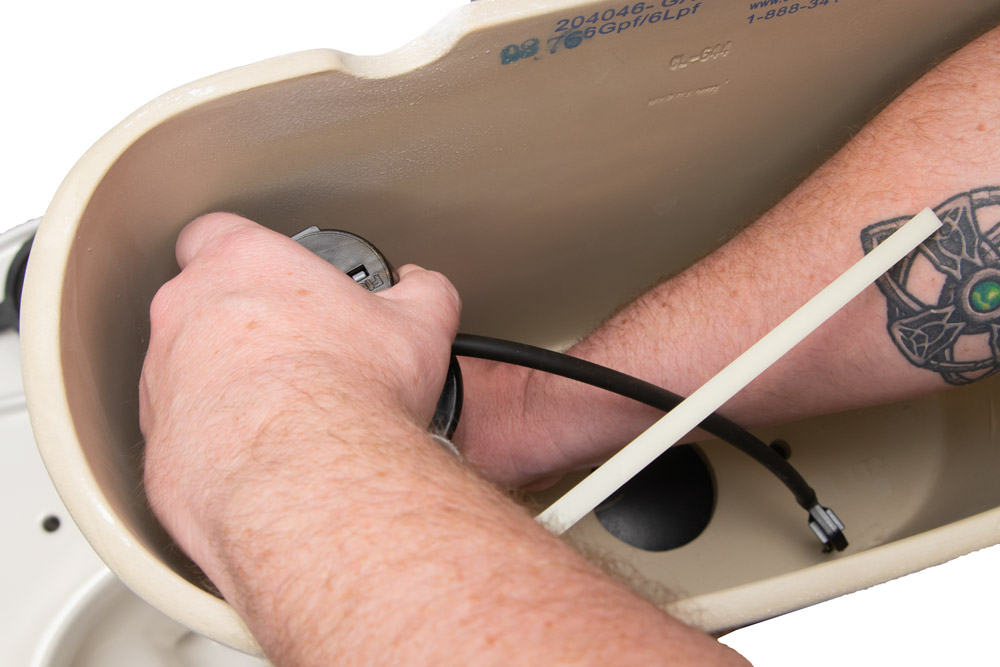
Twist the cap counterclockwise 1/8th turn.
Press down on the cap while making a quick twisting motion.
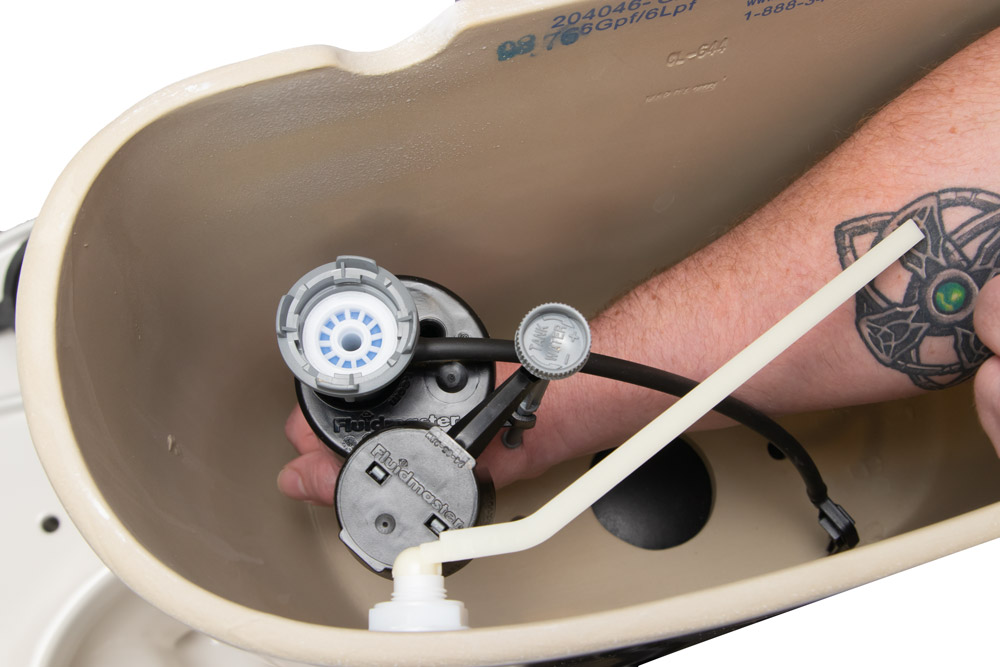
Lift cap up and away from the valve body.
Inspect the valve seat for debris.
Once the cap has been removed and checked for debris, run water through it to flush it out.
- Get a cup (a plastic Solo-type cup works great). Hold it upside down over the valve opening. Turn on the water. Let it run for about 30 seconds.
- Check to be sure both the cap and the valve seat are free of debris.
- Reinstall valve cap.
- Turn on the water.
- Check to see that valve is functioning properly and not overfilling into the overflow tube.
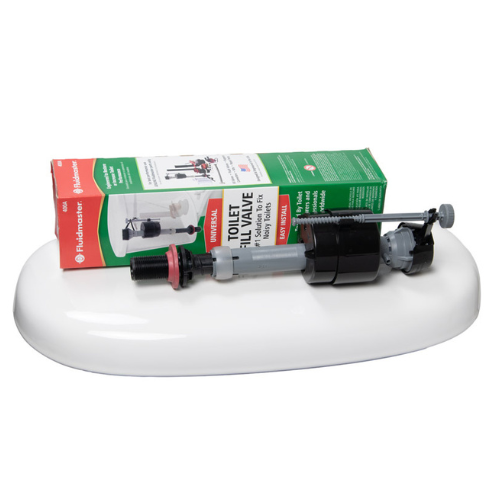
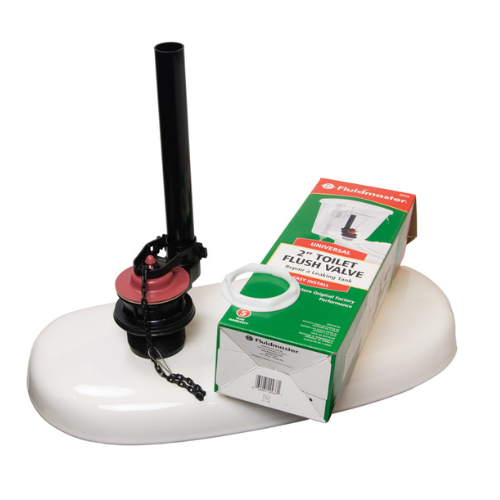
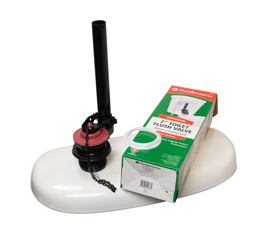
REPLACE THE FILL VALVE
If you have followed all these steps, and the problem persists, the fill valve may need to be replaced. A “universal” fill valve will do the job for most toilets. The Fluidmaster 400A is a top seller for a reason.
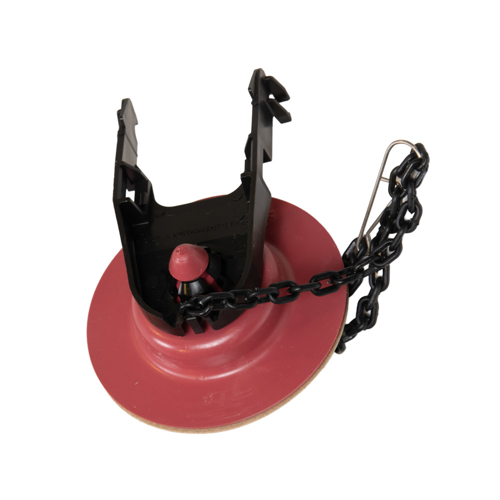
REPLACING A FLUSH VALVE
Replacing the flush valve will require removing the toilet tank from the bowl. Before you do this, make sure you have the correct size replacement valve. The flush valve should be the same size as the flapper, either 2” or 3”. Doublecheck this by measuring the discharge (flush) tube opening, which is covered by the flapper. The opening will be about 2 or 3 inches. This gives you the flush valve size.
STEP 1: Prepare the area
- Turn off the water and flush the toilet to drain the tank.
- Place towels on the floor and keep a bucket handy to catch any excess water.
- Unscrew the water line from the tank.
STEP 2: Detach the valve from other components inside the tank
- There will be a chain hooking the tank (flush) lever to the flapper.
- Unhook the chain from the flush lever or the flapper.
- Remove the fill tube from the flush valve.
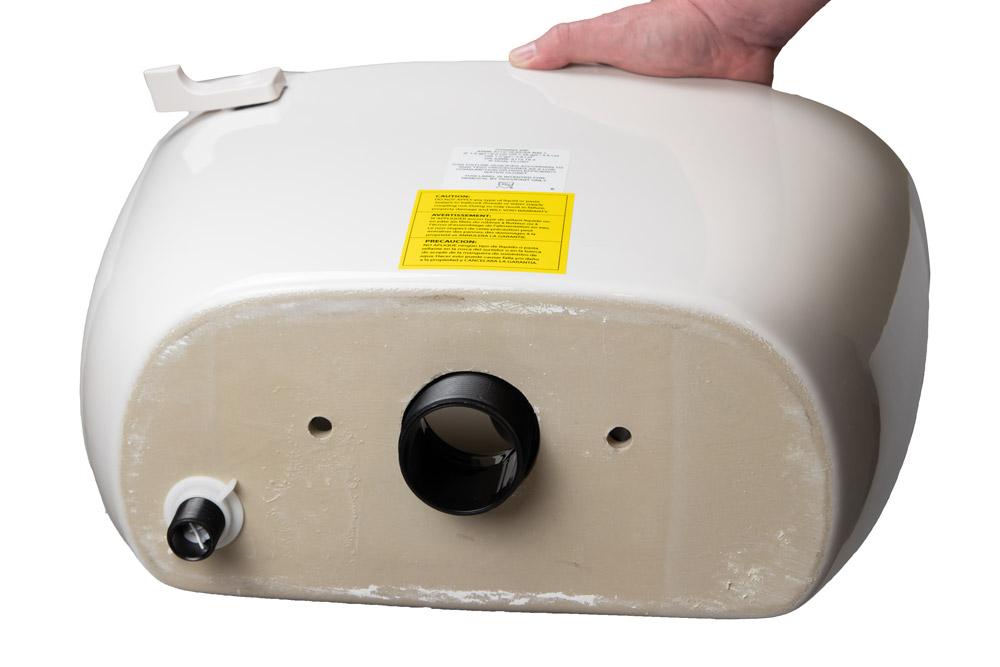
STEP 3: Carefully remove the tank from the bowl
- You should see two brass bolts holding the tank to the bowl. NOTE: Some tanks have three.
- Under the toilet, there is a nut holding each bolt in place. Hold the nut in place with pliers. Loosen the bolts using a screwdriver.
- Unscrew the bolts and remove the nuts holding the tank onto the bowl.
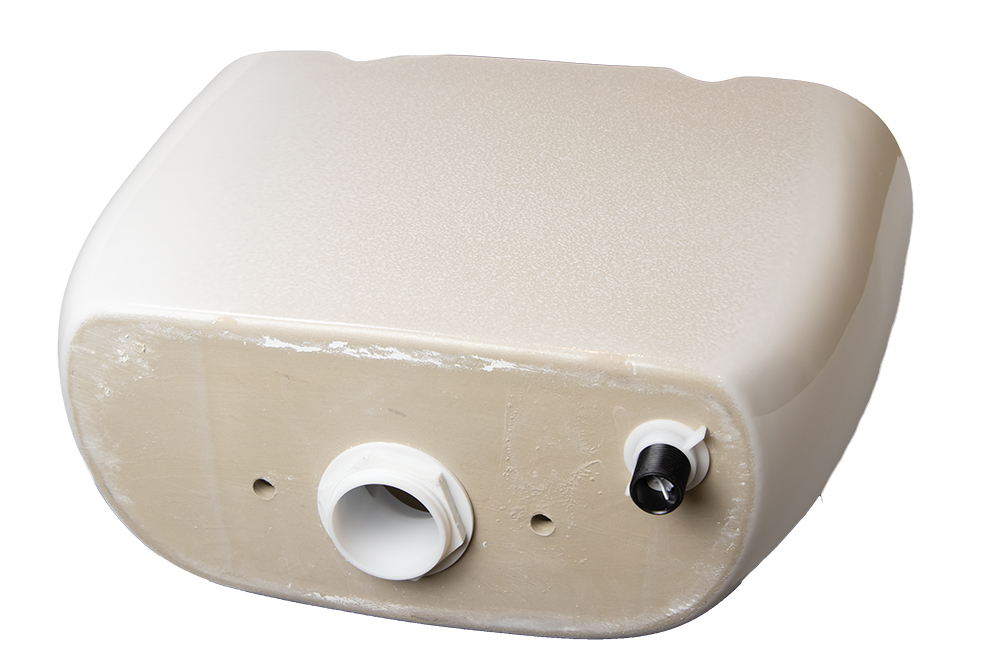
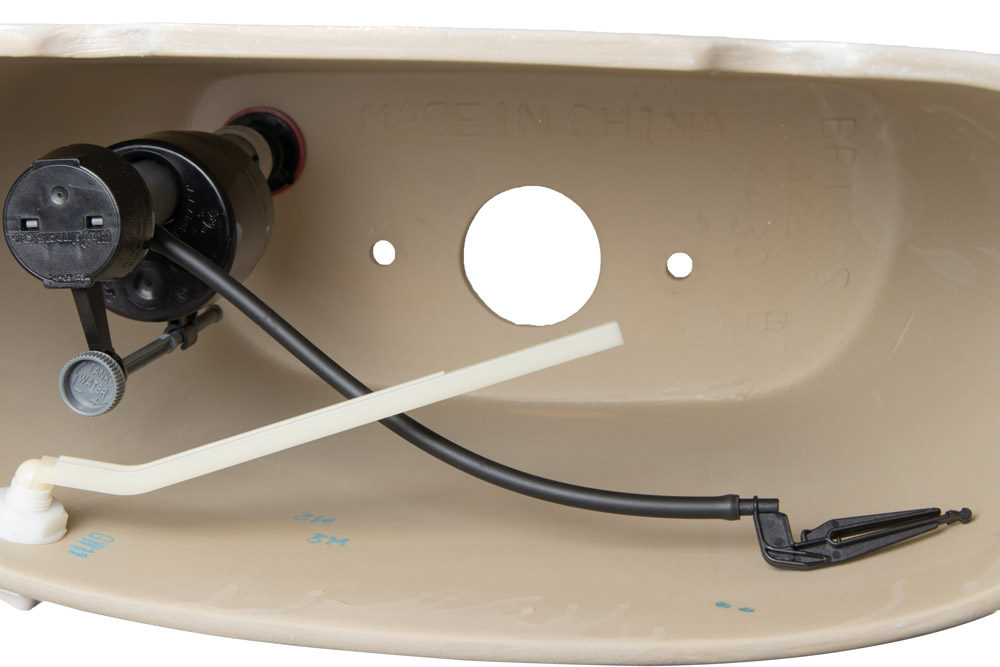
Carefully remove the tank and set it on its back. You will see a large nut holding the flush valve in place.
STEP 4: Remove the old flush valve assembly
You will see a gasket that protects the valve base and helps seat the tank on the bowl. Remove the old gasket. Make sure the new gasket is smooth and clean. NOTE: Gaskets come in different sizes. Be sure to have the correct size on hand to prevent leaks and ensure proper connection.
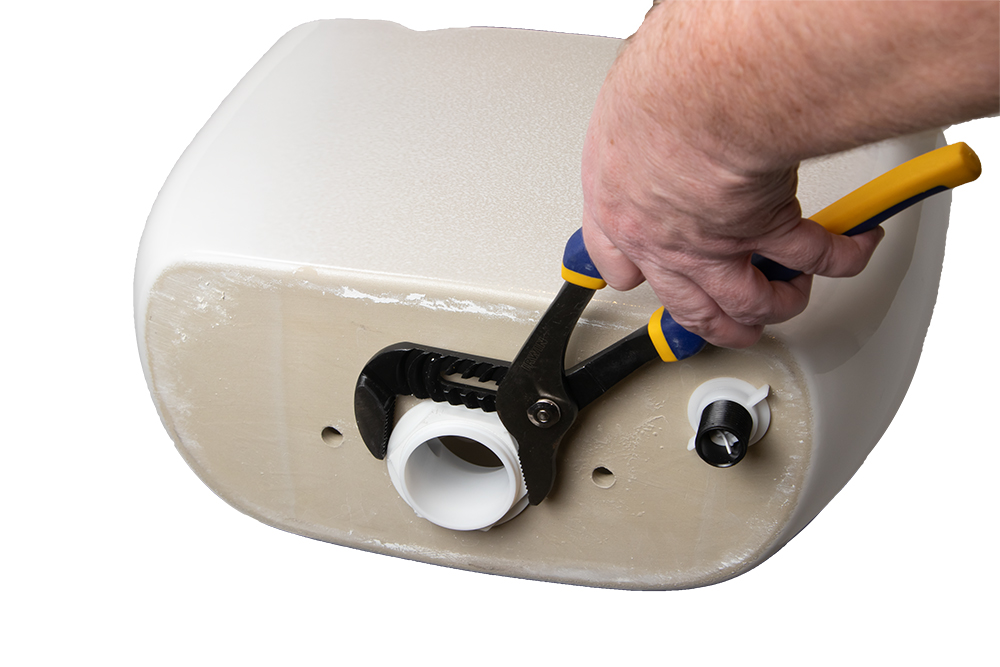
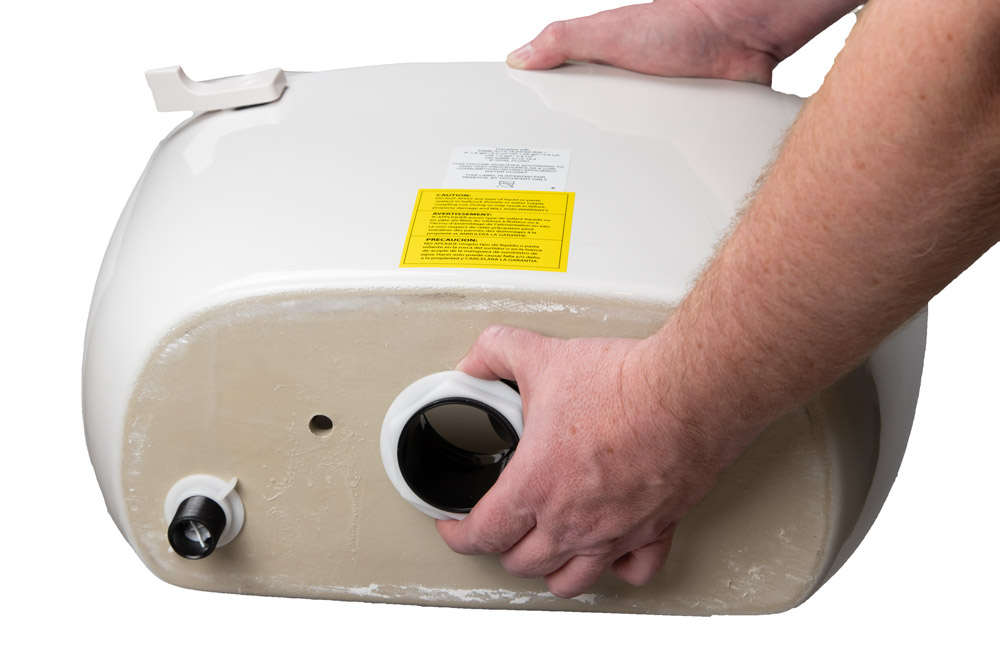
Using a large adjustable or pipe wrench remove the nut from the base of the toilet.
Remove the flush valve assembly and set the tank aside safely.
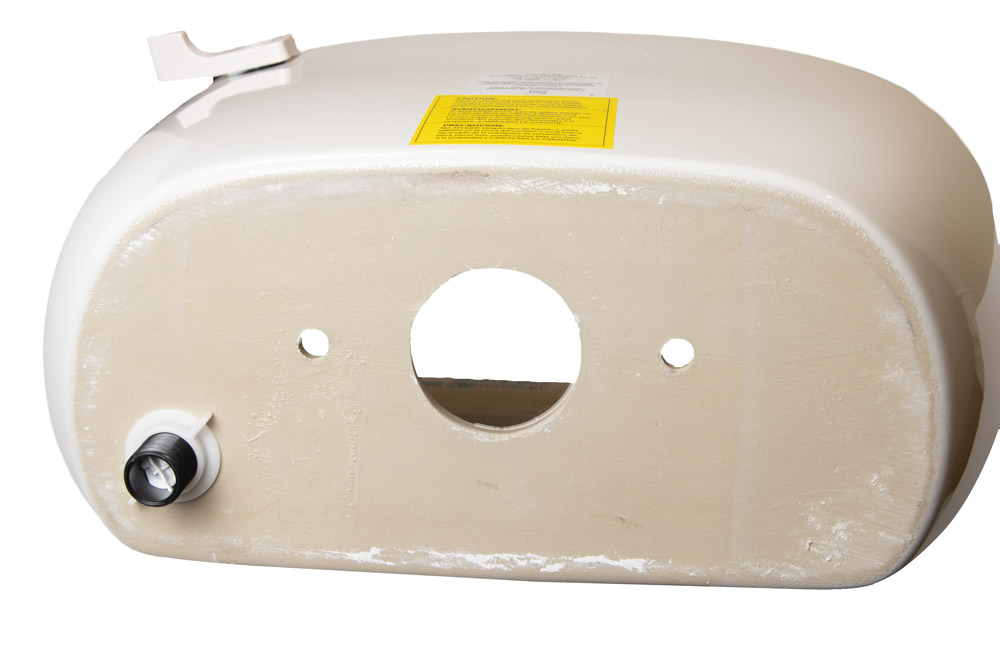
TIP: Make sure the port in the bottom of the tank is clean and dry to ensure a tight seal.
Insert the large threaded side of the valve assembly into the hole in the bottom of the tank.
Thread the nut onto the assembly, hand tighten until it is snug against the tank.
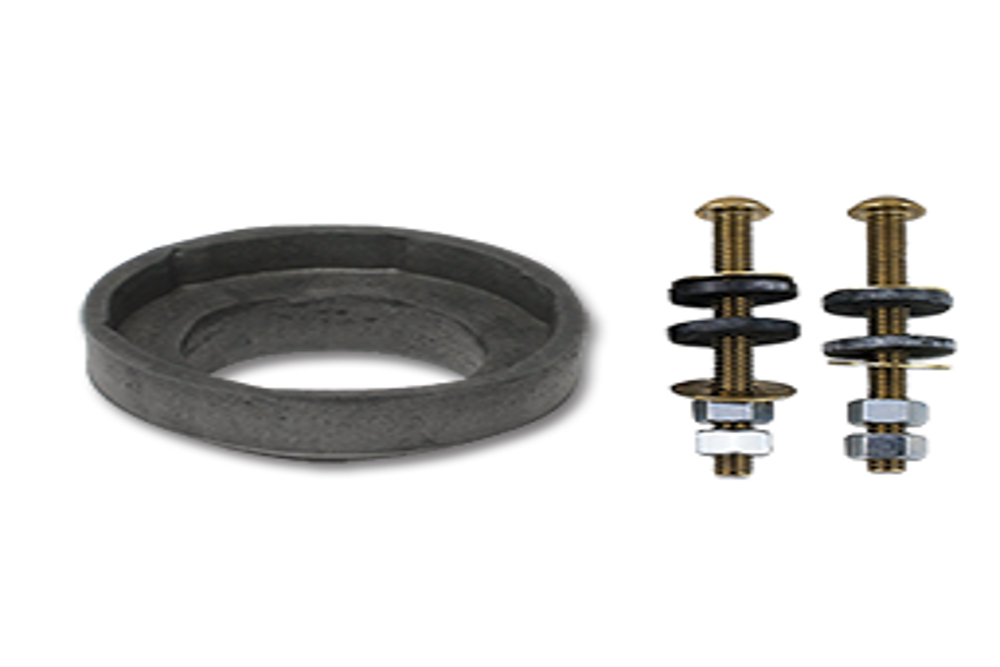
TIP: Some gaskets come as a kit with bolts and nuts. Always good to have extra on hand.
TOILET TANK TIPS
- When threading the nut onto the threaded part of the assembly. Snug it GENTLY with pliers. DO NOT OVERTIGHTEN. That WILL crack the tank or the nut.
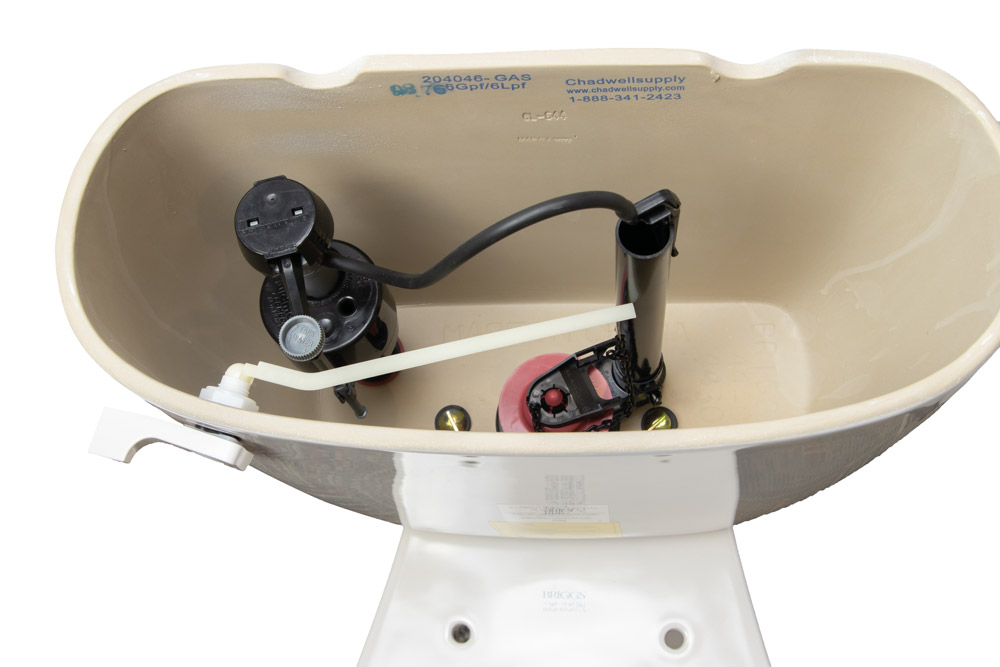
- Looking inside the bowl, make sure there’s enough room for all parts in the tank to operate properly: Tank lever, flapper chain and fill tube.
STEP 5: Putting It All Together
Once the flush valve is installed, it’s time to reconnect the tank and the bowl.
- Line up the bolts in the tank with the holes in the bowl.
- Once in position, put the nuts on the bolts below the bowl and tighten the two bolts. Again, they should be snug, but DO NOT OVERTIGHTEN.
- Check the tank, make sure it is tight, flush, and level.
- Reattach the fill tube.
- Reconnect the flapper chain to the tank lever.
- Reattach the water fill line to the tank.
STEP 6: Check For Leaks
- Turn the water back on and check for leaks.
- No leaks? Let the tank fill. Flush it, and let it fill again.
Wait 15 minutes, check again. The water level should be the same.
If the water level is the same and there are no leaks, the problem should be solved, and that toilet should only run when and how it is designed to.
For more plumbing tips, tricks, and how-tos, check out these articles: